
Compare concrete, plastic & fiberglass septic tanks for longevity. Choose the best option for your needs. Contact us for expert advice!
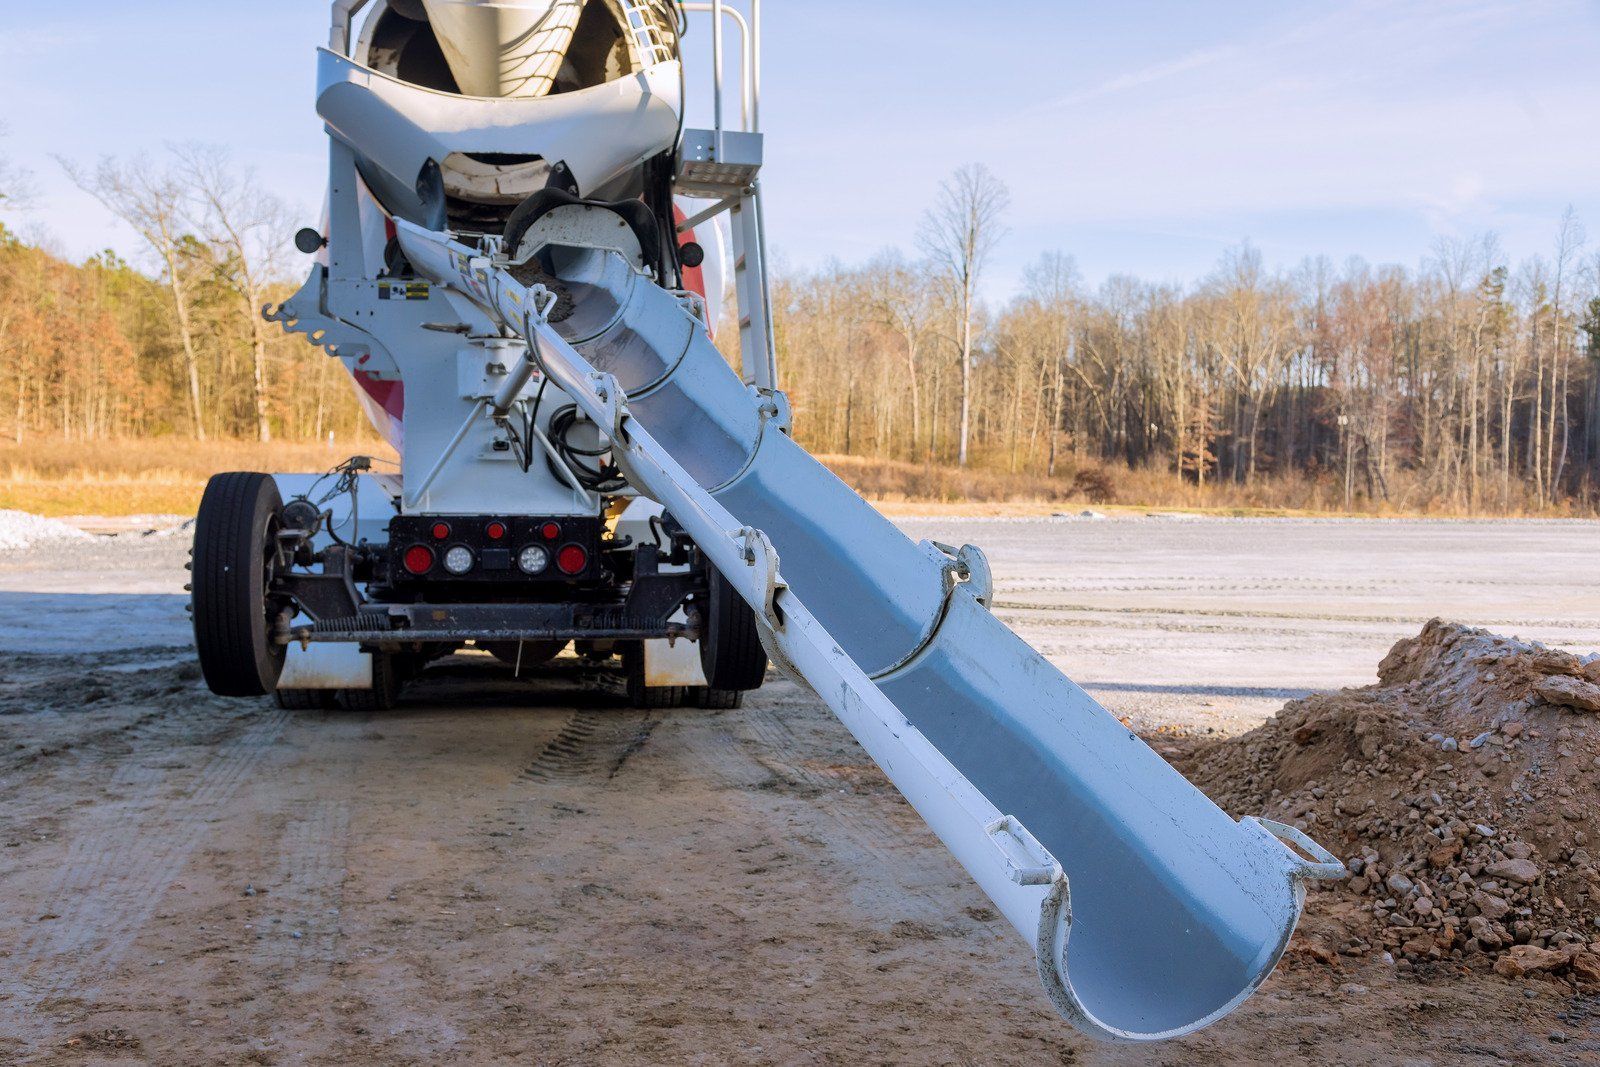
You have the project mapped out in your head. New driveway, a set of steps, a footing for an addition, maybe a tank going in the back of the lot. Then two people tell you two different things. One says pour it wet on site. The other says drop in a finished piece. Now you are standing in the yard wondering which one is

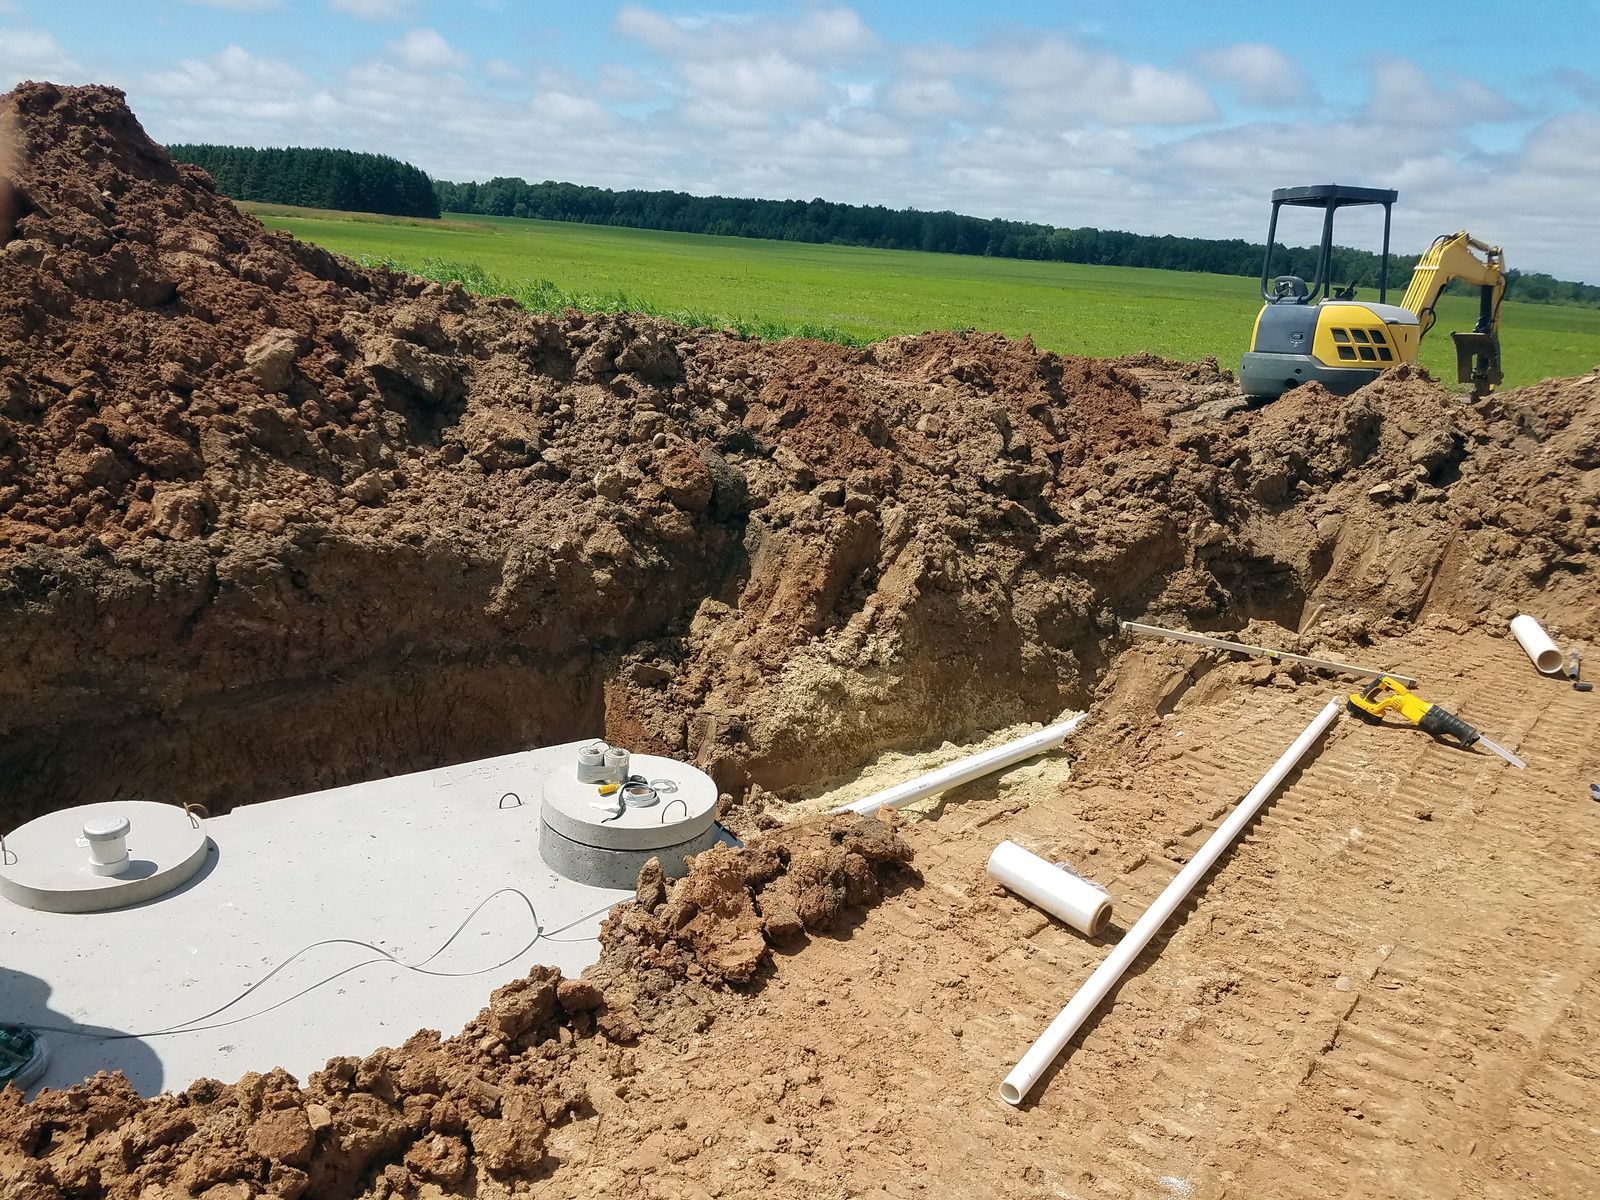
Concrete septic tanks remain one of the most reliable wastewater management systems for residential and rural properties, yet many property owners still follow outdated pumping schedules based on generalized timelines instead of actual usage patterns.
Compare concrete, plastic & fiberglass septic tanks for longevity. Choose the best option for your needs. Contact us for expert advice!
You have the project mapped out in your head. New driveway, a set of steps, a footing for an addition, maybe a tank going in the back of the lot. Then two people tell you two different things. One says pour it wet on site. The other says drop in a finished piece. Now you are standing in the yard wondering which one is
Concrete septic tanks remain one of the most reliable wastewater management systems for residential and rural properties, yet many property owners still follow outdated pumping schedules based on generalized timelines instead of actual usage patterns.